Sidebar
it_services:pf:scan:b._using_the_division_scanner
Table of Contents
B. Using the division scanner
There are two options to scan with the division scanner:
B.1. With the division laptop
To print with the division laptop, you need an account on teddi. If you do not know what this means or you do not have such access, ask Florido.
- Turn on the scanner
- Turn on the laptop (could be in sleep mode)

- Login with your teddi username and password.
- Locate a program called “SimpleScan”. Usually is in the menu Graphics→SimpleScan
- Place the original in the scanner making sure to align to the page format, then close the lid
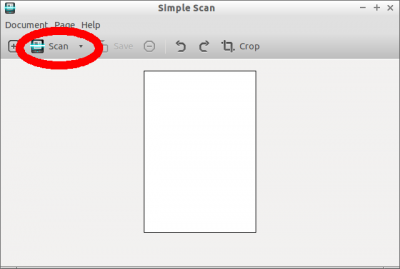
- To scan a page, click on scan:
- If you have a long documents with many pages, simple scan will add the pages automatically every time you press the scan button
- Once you're done with all page, you can save the document. Default is png but if you change the file extension to
.pdfSimpleScan will create a multipage pdf. The file will be saved in the path you decide, by default your home folder on teddi.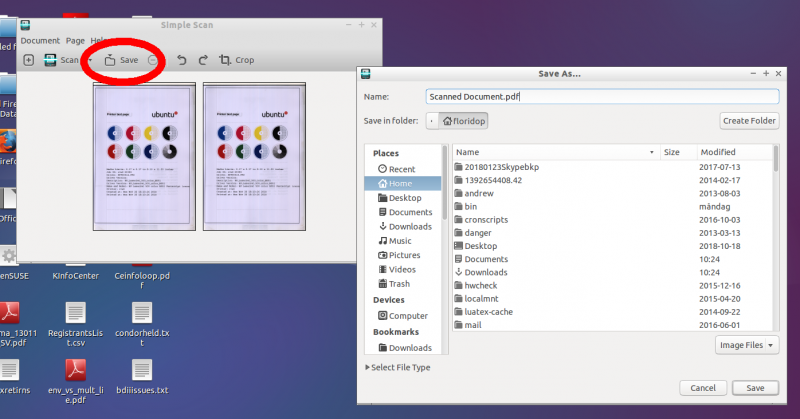
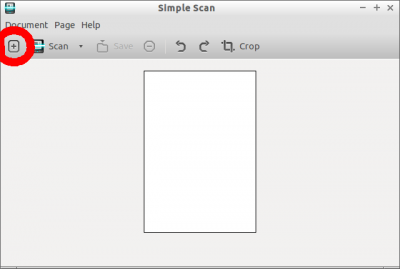
- To start to scan a new document, press the [+] icon and repeat the above steps.
- Once done
 LOGOUT from the laptop.
 - Turn off the scanner
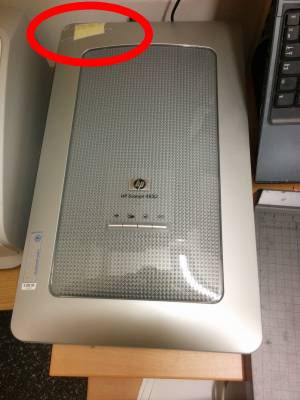
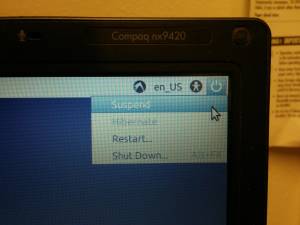
- Put the machine back to sleep by pressing the gear in the top right corner:


B.2. With your own computer
- If you're using:
- Linux: you must have the sane scanner libraries (they contain the scanner drivers) and SimpleScan to be able to scan.
- On ubuntu:
sudo apt-get install saned simplescan
- Windows: you need to install the scanner drivers. Windows 10 might detect it automatically but if not, you can search for them here: https://support.hp.com/us-en/drivers/selfservice/hp-scanjet-4850-photo-scanner/447373.
- NOTE If you install the scanner drivers by yourself, you must FIRST install the drivers and THEN connect the scanner USB connector to your laptop.
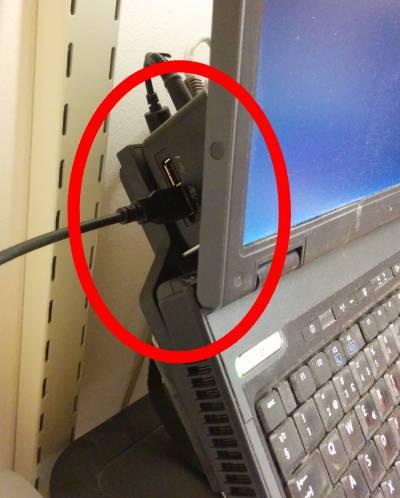
- Disconnect the scanner USB connection from the division laptop, and connect it to your computer.
- Turn on the scanner.
- If on
- Windows, use the program you fancy.
- When done,
- turn off the scanner
- reconnect its USB to the division laptop

it_services/pf/scan/b._using_the_division_scanner.txt · Last modified: 2018/11/28 11:35 by florido
Except where otherwise noted, content on this wiki is licensed under the following license: CC Attribution-Share Alike 4.0 International
